Friday, August 30, 2013

A smatter way to Online Shopping

Know how to earn through Cloud computing without investing anything, without doing any work.


Shopping FREE of Cost :) (Without doing any work)


In this small tutorial, I will tell you how you can purchase your items smartly with less price than your local store. Also I will explain few thing regarding how to make profit from your online purchase. So let's start.

Top 10 online shopping sites: (India)

1.  Shopclues.com      (The Best)
2.  Homeshop18.com    (Worst support)
3.  Ebay.in                    (Variety of products)
6.  Infibeam.com           (Late delivery time)
8.  Flipkart.com             
9.  Yebhi.com               
10. Indiaplaza.com        (For books, it is good)
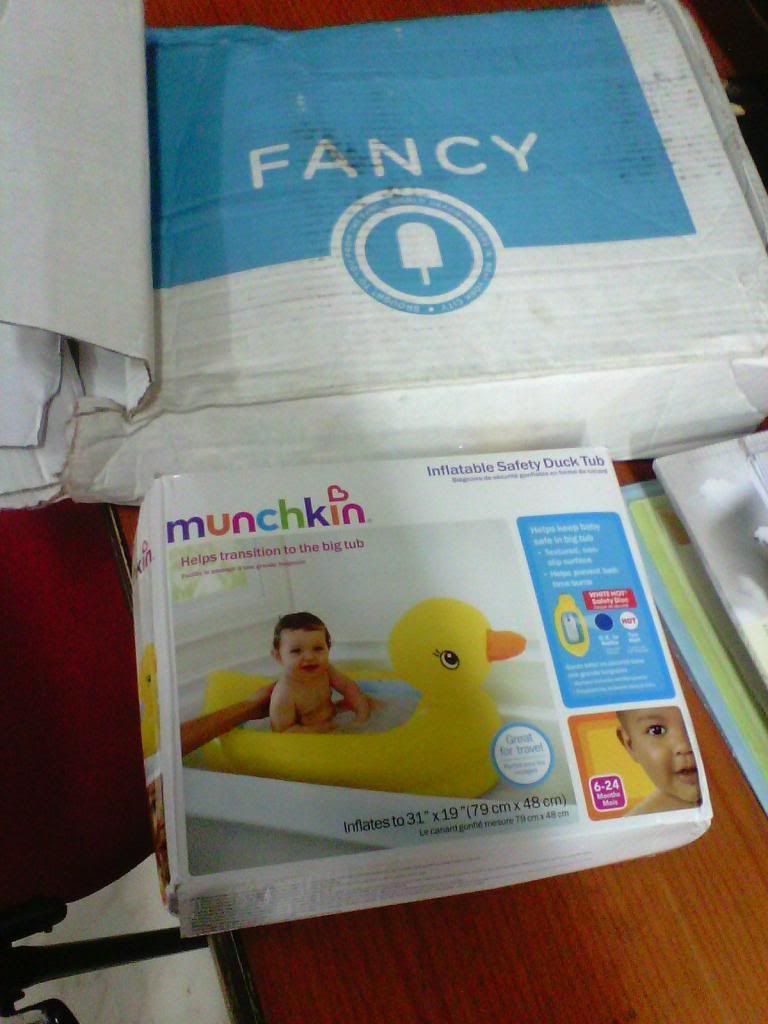
11. Babyoye.com          (For baby products)
12. Indiatimes Shopping (Very very late delivery of product, The worst.)
      and so on...

(These are the sites I usually buy. There are many other good sites may available but I have not yet tried them.)

How to buy Products for Cheap?

The one and only way to shop online with cheapest way is to search for a Coupon Code. These are the few sites where you can register to get the latest discount offers.


or use google.com to find a coupon.

How to get Profit out of your Online Shopping? 

Coupon is not the only profitable option for your online shopping. There are many more options from where you can get more profits from your online purchase. There are few sites which will give you some percentage of cash back, from the amount you have spent in online purchase. Some of them are listed here. 
1.     Rewards 
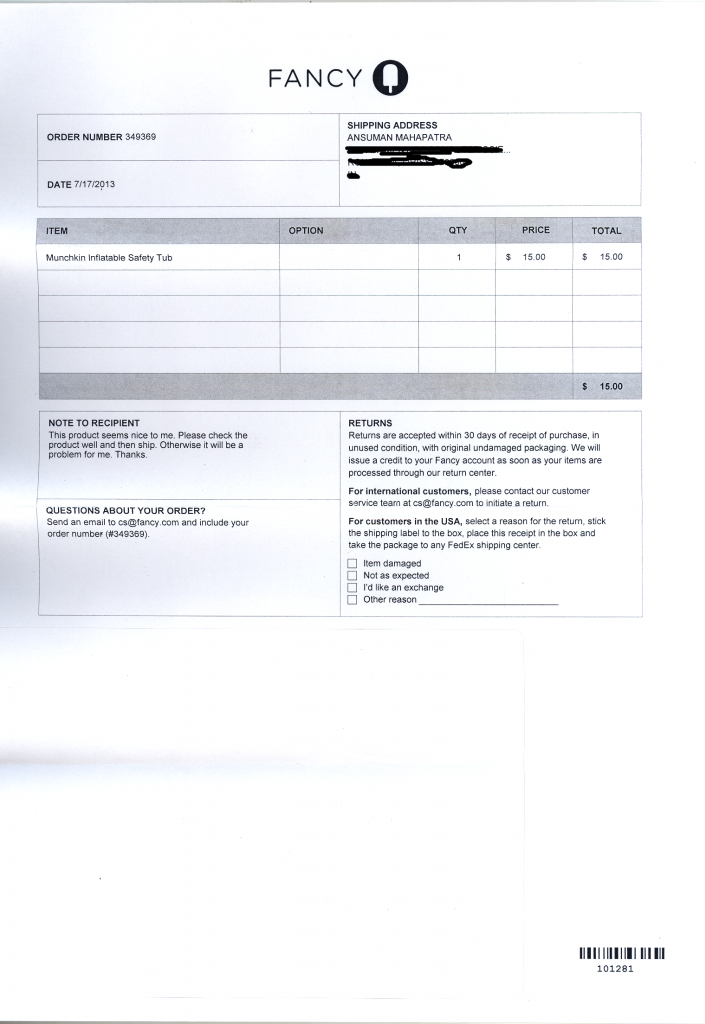
After purchase: - Let’s take an example of shopclues.com. It has a concept of Clue bucks. You will get 1 Clue bucks for each Rs.50 you spend to purchase an item. Suppose you will buy an item worth Rs. 128 then you will get 2 Clue Bucks. 1 Clue buck=Rs. 1. So next time if you buy anything then you will get a discount of Rs. 2. Like this site many sites are giving their customers some loyalty points. So that you can use them in your next shopping.
2.     Pennyful.in / Pennyful.com (For non-Indian Users) - It is a great third party website which is providing cashback on your every purchase. The main concept is that whenever you want to shop anything do that through their website. Let you want to shop from "ebay". You have to register and then login.  You have to search for "ebay" in their database. Search will return "ebay" and the information of how much you will get if you shop from ebay. Then click on it and click on shopping. It will redirect you from pennyful website to ebay. You purchase whatever you want. After shopping finished, within some days they will add the cashback amount in your pennyful account. You can withdraw that amount anytime to your bank account. No Minimum Payout Required - Redeem any amount of CashBack.


To register in the website click here.


3.     Freedomrewardz.com: - This is a loyalty program started by State Bank of India for the customers having SBI Debit card. You have to register there by registering your ATM card number. We usually do Online Shopping using Online Banking. DON'T DO THAT. Use your Debit card to pay. SBI is giving points for every transaction you made using your debit card for shopping. So pay using debit card, accumulate some points (>300) then go to Freedomrewardz.com and free recharge your mobile or do free online shopping with those points.


So that's it. Happy Online Shopping. Keep on searching and tell me if any more profitable online purchase can be possible. Share with me and I will update in the blog.


Friday, July 26, 2013

Shopping FREE of Cost :) (Without doing any work)

SHOPPING FANCY PRODUCTS FOR FREE


Ya, you heard that right. Shopping without paying anything from your bank account. No need to work. Products are of very good quality  from abroad and everything is free. You may not have seen such fancy and amazing products in your life. I have already got a product from USA. I have attached the proofs bottom of this post. So without wasting my time and of course yours, lets get to the point. Just follow the steps and you are done.

Steps to follow:

1. Register here. It is a Social Shopping  site, which combines the power of social network and online shopping.

2. Sign Up using  facebook / gmail / twitter / using your mail id.


3. Then give a unique user name when it ask an also follow some few steps. Then you are ready to go.

4.  If you want to know what products you can get for free, just go to the "Shop" Tab.


5. Now to shop these products for free you have to Just invite your friends to this website. Go to the "You" tab Click on "Invite Friends".


6. You will see a Referral link in this page. Give this link to your friend to join you. If your friend join you, You will get 1$ in your credit. It is so simple.


7. To see how many of your friends join you, go here. After you accumulate some good amount of credit you can use them for free shopping.

They will charge $17 for shipping to India.  

So after you refer minimum 22 number of friends you can easily get a product of $5. Inviting your friends is easy. Just tell your friends to join you in facebook by giving your referral link. Like I do. :)

I know you have more than 100 number of friends in facebook. So go on invite and shop for free...


Proof -

I have bought this product.

Here is the Photo of my product after I receive:


Here is the Bill of the product:


If this blog helps just post a thanks I will be happy. 

How to block a specific DC++ user.

Note:-
1. I thank my friends for believing me and for whom I am able to buy this product for free.
2. I am not responsible for any type of harm cased to you. I am just sharing this information for helping people. 
3. This content in this blog is purely my personal view. So feel free to contact me, if anybody has any query.

Tuesday, July 23, 2013

[Solved] Simplest way of Installing OpenCV using Visual Studio 2010 / 2012 in Windows 7 / 8 64bit OS

"This one is the simplest tutorial on How To Install OpenCV on 64bit OS"

Simplest way of installing OpenCV Tutorial follow this link(For 32 bit OS)


Requirements-
1. OpenCVmod_64bit
2. Visual Studio 2010 / 2012
3. Windows 7 / 8


(Thanks to Hongbo Miao for this tutorial to install OpenCV 2.4.4 for Visual Studio 2012.)


Follow the steps carefully. Don't miss a single step and you are ON.


Step-1


Extract the zip file and store it in "C" drive. Now it should look like "C:/OpenCV/install/" ( Inside install folder bin, include and lib folder should be there) (This tutorial follow this path "C:/OpenCV/install/".)


Open Windows Explorer. Click on Computer and then System properties.
image description
Choose Advanced system settings.
image description
Click Environment Variables...
image description
Add only this to Environment Variables -> System variables -> Path
C:\OpenCV\install\bin
image description
image description

------------------------------------------------------------------------------------------------------------

Step-2


Create your own project in Visual Studio 2012.
Build menu -> Configuration Manager
Change the Active solution platform. Click on Win32, Select New.... Use the settings below and click OK.
image description


Step-3


Create a new project without any source file.
View -> Property Manager
  1. C/C++ -> General -> Additional Include Directories
C:\OpenCV\install\include\opencv
C:\OpenCV\install\include
  1. Linker -> General -> Additional Library Directories
C:\OpenCV\install\lib
  1. Linker -> Input -> Additional Dependencies
opencv_calib3d245d.lib
opencv_contrib245d.lib
opencv_core245d.lib
opencv_features2d245d.lib
opencv_flann245d.lib
opencv_gpu245d.lib
opencv_highgui245d.lib
opencv_imgproc245d.lib
opencv_legacy245d.lib
opencv_ml245d.lib
opencv_nonfree245d.lib
opencv_objdetect245d.lib
opencv_photo245d.lib
opencv_stitching245d.lib
opencv_ts245d.lib
opencv_video245d.lib
opencv_videostab245d.lib
Note the file names has extra "d" which means debug
                             and its over...


Now restart the system and run the below code for testing.


Sample code:

//Reading an image
#include "opencv2\core\core.hpp"
#include "opencv2\highgui\highgui.hpp"
#include "cv.h"
#include "highgui.h"
using namespace std;
using namespace cv;
void main()
{
Mat image = imread("00.jpg"); //Give the full path to the image file
namedWindow("mywin");
imshow("mywin", image);
waitKey(0);
}

Sample code:

//Playing Video
#include "cv.h" 
#include "opencv2\core\core.hpp"
#include "opencv2\highgui\highgui.hpp"

#include "highgui.h" 
using namespace cv;
int main() 
// Open the video file
VideoCapture capture("asmall.avi"); //Give the full path for the video file
// check if video successfully opened
if (!capture.isOpened())
return 1;
// Get the frame rate
bool stop(false);
Mat frame; // current video frame
namedWindow("Extracted Frame");
// Delay between each frame in ms
// corresponds to video frame rate
// for all frames in video
while (!stop) {
// read next frame if any 
if (!capture.read(frame))
break;
imshow("Extracted Frame",frame);
// introduce a delay in mili-second
waitKey(50);
}
// Close the video file.
// Not required since called by destructor
capture.release();
return 0; 
}

How to block a specific DC++ user.

Note-

- Detailed tutorial of installing OpenCV in 32 bit OS machine, follow the link.
- Detailed tutorial of installing OpenCV in 64 bit OS machine, follow the link.

Saturday, July 6, 2013

Earning through Cloud Computing (No work to do) by sharing your PC processor power

Shopping FREE of Cost :) (Without doing any work)


I can't believe before few days that the emerging technology "Cloud Computing" or "Distributed Processing" not only give benefits to organization but also give benefits to common man like us. We can earn some small amount of money out of it by letting our multi-core processor to work for the cloud as server. They will do some high computing task by our processors and pay us for it. There are many such organizations who pay for it. You can also donate your processor power for free for some useful work. In this post we will discuss some of the paid organizations who pay for sharing the processor power of your PC.

Note- You have to be connected to Internet always to earn. 

< DON'T EVER TRY THIS IN A LAPTOP AS YOUR PROCESSOR WILL BURN DUE TO HIGH COMPUTATION>

The methods of earning is very simple.


I.EobotEobot

Steps-  You can watch this video to learn more
1. Register in the website here or here
2. After login into the account download the Eobot software.
3. Install and run (Require .Net 4, Antivirus may complain)
4. Login with your email id and click start CPU.
5. After some time you will see you are earning.
6. After you earn 0.01$ you can withdraw your money to paypal. (But don't withdraw such a small amount. Withdraw after you get more than 0.1$)

Note- Payment is verified by me. It will take 2 days to get the payment in Paypal account.

Proof of payment-


II. Rublik.com

Steps-  (Graphics card needed)
1. Download the rublik software from the website here or here. OR directly download the software.
2. Install it and register for an account when you first install this software.

Screenshot: Registration

3. Then start earning.
Screenshot: Main Window

Note- Payment is not yet verified by me. I will post as soon as I get any information about its payment.


III.

Steps-  (1$ everyday)
1. Register in the website here or here
2. Download the software after Login into your account.
3. Install the software.

coin digital generation - ganar dinero con tu pc

4. This method of earning is little bit hard as you need a Thread to start earning.
5. So after login into the website click on "Chat".
6. You have to ask for a thread to the Admin by providing your id (Find it Top-Right of page last part of Referral ).
7. Admins are not online always. You can know an Admin is online if you find red color nick name in the chat.
8. If you are not lucky enough to get a thread there click on ticket and request for a thread.
9. After you get a thread start your software and keep it on (minimize it).
10. Paypal is not yet supported. So you need to create a Payza or Perfect Money or Paxum or Egopay bank account online.
11. The best one is Egopay. So create an account here.
12. Withdraw your earning from Coingeneration to Egopay from payment menu in the website on Coingeneration.

Note- Payment is not yet verified by me till now.


IV. MQL5 - Language of trade strategies built-in the MetaTrader 5 client terminalAutomated Trading and Strategy Testing

Steps-
1. Download this software. here
2. Register in the website here
3. Install the downloaded software and configure the software by following the link.

Participation in MQL5 Cloud Network

4. Follow all the steps carefully and close the software. Now you can earn money in dollars. the income is very less but also it is free of cost. Give your login id in the Account field as shown below.

Submission of Tester Agents Resources for Computing in MQL5 Cloud Network

5. You can check your account balance in the website. Click the profile (top right) then Payment tab at left side.
6. After you earn few dollars you can sen to your paypal account and from there to your bank account.


Note- This method of earning is VERIFIED by me. I successfully got my money into my Paypal account as well as to my State Bank of India account.

Proof of payment-


If you find it useful than share this post with your friends. If anybody has any query or any experience using these organization please post some comments about them.


Note- 
1. I am not responsible for any loss occur to you by using these services. I am just sharing this for benefit of all who don't know about these current technologies.
2. Please visit my other Blog on Review of Electronic gadgets.

Thursday, June 27, 2013

[Solved] Simplest way of Install OpenCV 2.4.5 using Visual Studio 2010 / 2012 in Windows 7 / 8 (FOR 32 bit machine only)

1. OpenCVmod_32bit
2. Visual Studio 2010 / 2012
3. Windows 7 / 8


(Thanks to Hongbo Miao for this tutorial to install OpenCV 2.4.4 for Visual Studio 2012.)


Follow the steps carefully. Don't miss a single step and you are ON.


Step-1


Extract the zip file and store it in "C" drive. Now it should look like "C:/OpenCV/install/" ( Inside install folder bin, include and lib folder should be there) (This tutorial follow this path "C:/OpenCV/install/".)


Open Windows Explorer. Click on Computer and then System properties.
image description
Choose Advanced system settings.
image description
Click Environment Variables...
image description
Add only this to Environment Variables -> System variables -> Path
C:\OpenCV\install\bin
image description
image description

Step-2


Create a new project without any source file.

For Debug:

View -> Property Manager
  1. C/C++ -> General -> Additional Include Directories
C:\OpenCV\install\include\opencv
C:\OpenCV\install\include
  1. Linker -> General -> Additional Library Directories
C:\OpenCV\install\lib
  1. Linker -> Input -> Additional Dependencies
opencv_calib3d245d.lib
opencv_contrib245d.lib
opencv_core245d.lib
opencv_features2d245d.lib
opencv_flann245d.lib
opencv_gpu245d.lib
opencv_highgui245d.lib
opencv_imgproc245d.lib
opencv_legacy245d.lib
opencv_ml245d.lib
opencv_nonfree245d.lib
opencv_objdetect245d.lib
opencv_photo245d.lib
opencv_stitching245d.lib
opencv_ts245d.lib
opencv_video245d.lib
opencv_videostab245d.lib
Note the file names has extra "d" which means debug
                             and its over...


Now restart the system and run the below code for testing.


Sample code:

//Reading an image
#include "opencv2\core\core.hpp"
#include "opencv2\highgui\highgui.hpp"
#include "cv.h"
#include "highgui.h"
using namespace std;
using namespace cv;
void main()
{
Mat image = imread("00.jpg"); //Give the full path to the image file
namedWindow("mywin");
imshow("mywin", image);
waitKey(0);
}

Sample code:

//Playing Video
#include "cv.h" 
#include "opencv2\core\core.hpp"
#include "opencv2\highgui\highgui.hpp"

#include "highgui.h" 
using namespace cv;
int main() 
// Open the video file
VideoCapture capture("asmall.avi"); //Give the full path for the video file
// check if video successfully opened
if (!capture.isOpened())
return 1;
// Get the frame rate
bool stop(false);
Mat frame; // current video frame
namedWindow("Extracted Frame");
// Delay between each frame in ms
// corresponds to video frame rate
// for all frames in video
while (!stop) {
// read next frame if any 
if (!capture.read(frame))
break;
imshow("Extracted Frame",frame);
// introduce a delay in mili-second
waitKey(50);
}
// Close the video file.
// Not required since called by destructor
capture.release();
return 0; 
}


Note-

- Detailed tutorial of installing OpenCV in 32 bit OS machine, follow the link.
- Detailed tutorial of installing OpenCV in 64 bit OS machine, follow the link.

[Solved] Install OpenCV 2.4.7 using Visual Studio 2010 / 2012 in Windows 7 / 8 (FOR 64 bit machine only)

Installing OpenCV 2.4.5 using Visual Studio 2010 / 2012 in 

Windows 7/8 64 Bit OS


-  Simplest way of installing OpenCV Tutorial follow this link. (For 32 bit OS)
- The Detailed tutorial on installing OpenCV in 32bit OS machine follow the link.

Requirements-
1. OpenCV
2. Cmake 
3. Visual Studio 2010 / 2012
4. Windows 7 / 8


Thanks to Hongbo Miao for this tutorial to install OpenCV 2.4.4 for Visual Studio 2012.


Important Note- After downloading and extracting OpenCV, delete the folder named "x86" inside "build" folder. Then go ahead.


Step-1


Extract OpenCV-2.4.7 to a folder let "C:/OpenCV". This OpenCV folder should contain many folders like build, include etc.

Install CMake. Open CMake and use settings below. Then click Configure.

image description
Choose Visual Studio 11 Win64 for 64bit OS otherwise choose Visual Studio 11 / 10. Click Finish.
image description
After a while, click Configure again. Wait a moment and then click Generate.
(For Windows 8 user) - Now copy that folder to your windows 8 machine. Now do the following steps.
Close CMake and go to C:\MyOpenCV, open OpenCV.sln.
Choose Debug.
image description
Right click INSTALL. And choose Build.
image description
After build successful , go back and choose Release. Similarly, right click INSTALL. And choose Build.
After build finish, close Visual Studio 2012.
Copy C:\MyOpenCV\install folder to C:\OpenCV. (This install folder contains your whole OpenCV, so there is no need of keeping folders other than install folder.)
So now you have a C:\OpenCV\install folder. You can delete C:\MyOpenCV whole folder if you want.

Step-2


Open Windows Explorer. Click on Computer and then System properties.
image description
Choose Advanced system settings.
image description
Click Environment Variables...
image description
Add only this to Environment Variables -> System variables -> Path
C:\OpenCV\install\bin
image description
image description

Step-3


Create your own project in Visual Studio 2012.
Build menu -> Configuration Manager
Change the Active solution platform. Click on Win32, Select New.... Use the settings below and click OK.
image description

Step-4

For Release:


Create a new empty C++ project.

View -> Property Manager or right click on project name inside solution Explorer and choose property.
Double click Release | x64
  1. C/C++ -> General -> Additional Include Directories for 2012 or VC++ Directories -> include directories for 2010, add
C:\OpenCV\install\include\opencv
C:\OpenCV\install\include
  1. Linker -> General -> Additional Library Directories
C:\OpenCV\install\lib
  1. Linker -> Input -> Additional Dependencies
opencv_calib3d247.lib
opencv_contrib247.lib
opencv_core247.lib
opencv_features2d247.lib
opencv_flann247.lib
opencv_gpu247.lib
opencv_highgui247.lib
opencv_imgproc247.lib
opencv_legacy247.lib
opencv_ml247.lib
opencv_nonfree247.lib
opencv_objdetect247.lib
opencv_photo247.lib
opencv_stitching247.lib
opencv_ts247.lib
opencv_video247.lib
opencv_videostab247.lib

For Debug:

View -> Property Manager
Double click Debug | x64
  1. C/C++ -> General -> Additional Include Directories
C:\OpenCV\install\include\opencv
C:\OpenCV\install\include
  1. Linker -> General -> Additional Library Directories
C:\OpenCV\install\lib
  1. Linker -> Input -> Additional Dependencies
opencv_calib3d247d.lib
opencv_contrib247d.lib
opencv_core247d.lib
opencv_features2d247d.lib
opencv_flann247d.lib
opencv_gpu247d.lib
opencv_highgui247d.lib
opencv_imgproc247d.lib
opencv_legacy247d.lib
opencv_ml247d.lib
opencv_nonfree247d.lib
opencv_objdetect247d.lib
opencv_photo247d.lib
opencv_stitching247d.lib
opencv_ts247d.lib
opencv_video247d.lib
opencv_videostab247d.lib
Note the file names has extra "d" which means debug
                             and its over...


Now restart the system and run the below code for testing.


Please share some experience on why to use OPEN CV/ MATLAB /C / C++ !!!


Sample code:

//Reading an image
#include "opencv2\core\core.hpp"
#include "opencv2\highgui\highgui.hpp"
#include "cv.h"
#include "highgui.h"
using namespace std;
using namespace cv;
void main()
{
Mat image = imread("00.jpg"); //Give the full path to the image file
namedWindow("mywin");
imshow("mywin", image);
waitKey(0);
}

Sample code:

//Playing Video
#include "cv.h" 
#include "opencv2\core\core.hpp"
#include "opencv2\highgui\highgui.hpp"

#include "highgui.h" 
using namespace cv;
int main() 
// Open the video file
VideoCapture capture("asmall.avi"); //Give the full path for the video file
// check if video successfully opened
if (!capture.isOpened())
return 1;
// Get the frame rate
bool stop(false);
Mat frame; // current video frame
namedWindow("Extracted Frame");
// Delay between each frame in ms
// corresponds to video frame rate
// for all frames in video
while (!stop) {
// read next frame if any 
if (!capture.read(frame))
break;
imshow("Extracted Frame",frame);
// introduce a delay in mili-second
waitKey(50);
}
// Close the video file.
// Not required since called by destructor
capture.release();
return 0; 

Monday, May 13, 2013

[Solved] How to control Axis PTZ camera through MATLAB

We have a couple of Axis camera installed in our Computer Vision Lab. I always wonder, how to control the PTZ camera using MATLAB. Now I got the answer of the question. It was so simple, but it needs a lot of searching "My dear Friend Google ". It took me 1yr. to complete this re-search. Finally I got the answer. I don't want others to suffer like me, so I am posting the method to control the PTZ parameter of Axis camera.

Without wasting so much time lets come to MATLAB code.

How to Control PTZ Parameter of Axis Camera:

Code

How to Record Frames from Axis PTZ Camera:

Code

Know how to earn through Cloud computing without investing anything, without doing any work.


Shopping FREE of Cost :) (Without doing any work)


Note:
1. Please replace IP address in the codes, by your own camera IP address otherwise the code will not work.
2. The method described above is only for educational purpose and is verified using Axis 214 PTZ Camera.
3. Comment below if any problem.
4. Please feel free to post any Matlab codes you have regarding Axis camera to the following File Drop Mediafire link.
5. Direct access too my AxisCamera mediafire folder.
6. My other blog about review of Electronic gadgets and software problem solved for LAVA E-Tab Z7H and Z7H+.